It’s 2020, and Mac and iOS apps are apparently meant to be shared. This wasn’t always the case, of course: For the longest time, macOS and iOS apps ran on completely different tracks by design. But with macOS Catalina and Xcode 11, it’s really simple to bring mobile apps to the desktop.
Here, we’ll walk you through how to use Project Catalyst (which Apple officially calls “Mac Catalyst”) to bring mobile apps to the Mac—but first, let’s talk about why you’d want to.
(If you're new to iOS development in general, check out our tutorials on the various aspects of Swift, including sets, arrays, strings, and Package Manager.)
Why Bring iOS and iPad Apps to Mac?
One caveat to porting apps: You can only bring iPad apps to Mac. Apple hasn’t yet made it possible to bring iOS/iPhone apps to Mac, much less watchOS apps. This is a continuation of Apple’s conflating iPads with “computers,” so it’s unclear when (or if) Apple will allow iPhone-centric apps onto the desktop.
Those with iPadOS apps will find porting to the Mac simple, but may wonder why they should bother. Cross-platform subscriptions are one factor to consider. If you have iPad and Mac versions of your app, it becomes more attractive to users who use both platforms frequently.
Xcode 11.4 has added a feature allowing universal purchases, meaning that, when someone buys your iOS app, they can automatically receive the macOS version, as well. In-app purchases will also be shared.
How to Port iPad Apps to Mac Using Catalyst
Note: You will need macOS 10.15 or newer, and Xcode 11 or newer.
Here are the really simple step-by-step instructions for porting iPad apps to Mac:
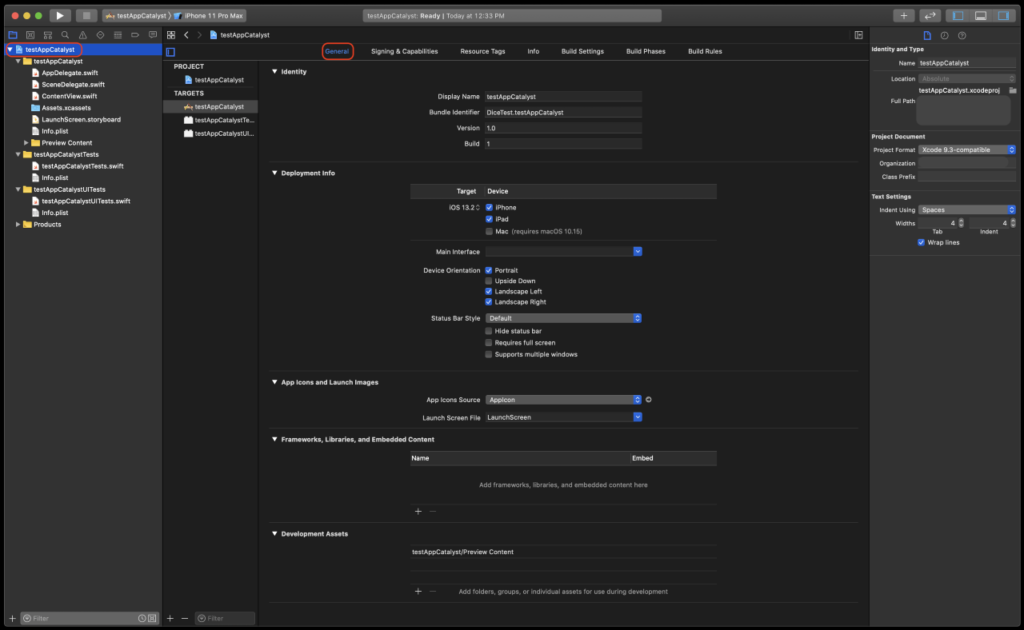
Open your project’s ‘general’ interface from the project navigator:
Select ‘Mac’ under ‘Deployment Info’:
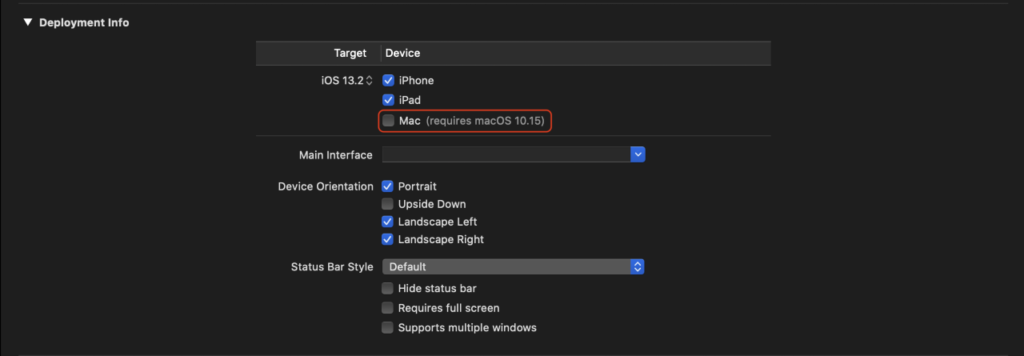
A popup will ask if you want to enable Mac support. Click ‘Enable’:

That’s it! You’ve now created an app available to iOS, iPad, and Mac. It really is that simple.
Troubleshooting
There are a few things that can go wrong, but, fortunately, the fixes are as simple as creating a cross-platform app.
First, make sure you have a team assigned to your project. Sometimes, Xcode forgets that you have a team, or doesn’t default to a team. (I’ve noticed it sometimes toggles to ‘no team’ when targeting Mac under deployment info, too.)
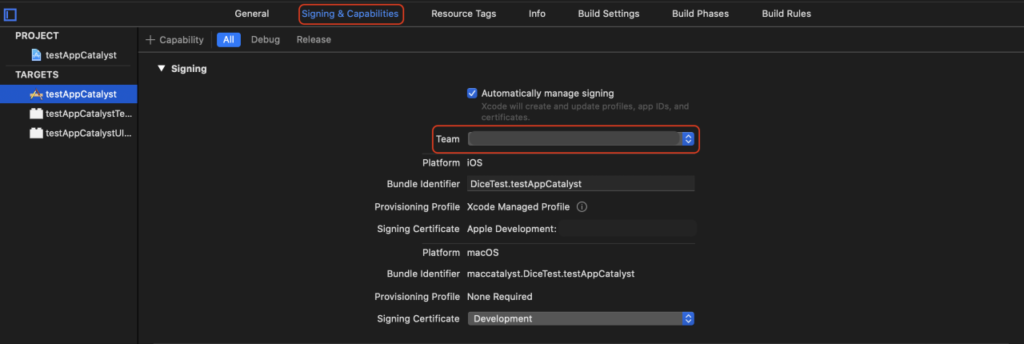
Simply head to your general interface, select ‘signing and capabilities’ from the top menu, and add your team from the drop-down. If you don’t have a team, adding one is simple. From the menu bar, go to Xcode > Preferences > Accounts. Here you can add your team (or teams).
Another thing people ignore: When you select Mac as a target, you must have iPad selected, as well. Some will try to toggle iPad off, which automatically toggles Mac off as a target. You can target iPad without the Mac.
What’s Happening When I Target the Mac?
First, Apple adds all the Mac-y things your app may need, such as keyboard and touchpad/mouse support. Because Macs aren’t touchscreen, users need a way to interface with apps, and Apple makes it all really easy for developers. It also sandboxes your app on desktop so you don’t have to worry about basic security.
Second, your app gets a unique bundle identifier. If you paid close attention, you’ll notice that toggling Mac under the Deployment Info screen added an un-editable bundle identifier under your bundle identifier window. It’s simply adding maccatalyst in front of your bundle identifier. Editing your bundle identifier likewise changes the ‘Mac Catalyst’ bundle identifier.
Porting iOS Apps to Mac is Easy!
Fortunately for you, we’re really not oversimplifying this process! It really is that simple to bring your iOS and iPadOS apps to macOS.
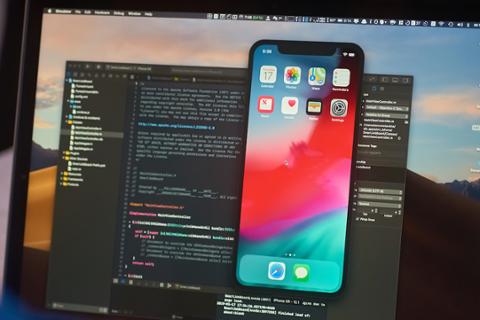
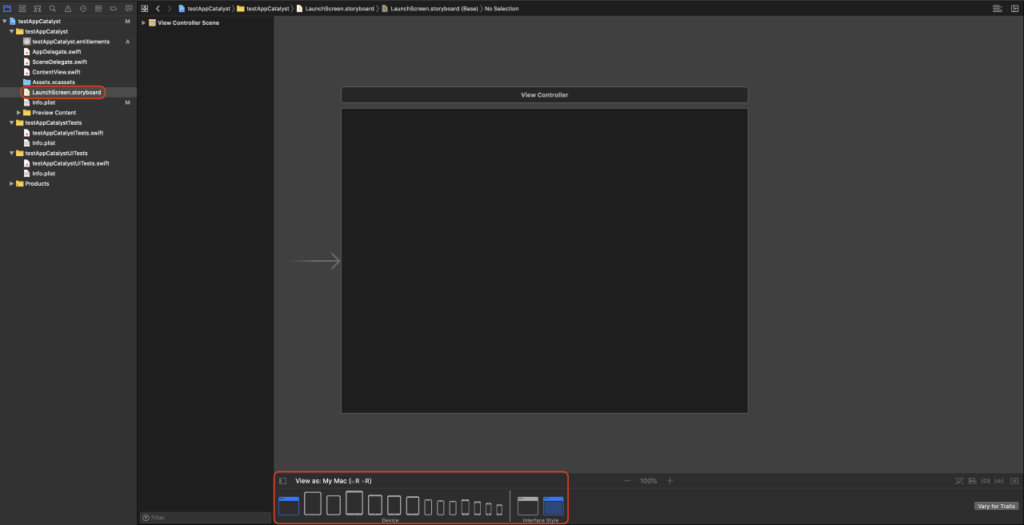
Your work may not be done. In the storyboard view, you can select myriad devices to work with, including a Mac window in dark or light mode (as seen above). We recommend making sure your apps are performant and beautiful across devices. This will add to your testing time and process, but it’s worth it if you’re asking users to pay for your app, and goes a long way to earning great reviews.